Taking Photos with the Camera
Now for the fun part - adding the ability to take photos with the device’s camera using the Capacitor Camera API. We’ll begin with building it for the web, then make some small tweaks to make it work on mobile (iOS and Android).
To do so, we will create a standalone composition function paired with Vue's Composition API to manage the photos for the gallery.
If you are not familiar with Vue's Composition API, Why Composition API? from the official Vue docs is a good resource to start with.
Create a new file at src/composables/usePhotoGallery.ts and open it up.
We will start by importing the various utilities we will use from Vue core and Capacitor:
import { ref, onMounted, watch } from 'vue';
import { Camera, CameraResultType, CameraSource, Photo } from '@capacitor/camera';
import { Filesystem, Directory } from '@capacitor/filesystem';
import { Preferences } from '@capacitor/preferences';
Next, create a function named usePhotoGallery:
export const usePhotoGallery = () => {
  const takePhoto = async () => {
    const photo = await Camera.getPhoto({
      resultType: CameraResultType.Uri,
      source: CameraSource.Camera,
      quality: 100,
    });
  };

  return {
    takePhoto,
  };
};
Our usePhotoGallery function exposes a method called takePhoto, which in turn calls the Capacitor Camera API's getPhoto method.
Notice the magic here: there's no platform-specific code (web, iOS, or Android)! The Capacitor Camera plugin abstracts that away for us, leaving just one method call - getPhoto() - that will open up the device's camera and allow us to take photos.
The last step we need to take is to use the new function from the Tab2 page. Go back to Tab2Page.vue and import it:
import { usePhotoGallery } from '@/composables/usePhotoGallery';
Destructure the takePhoto function from usePhotoGallery so we can use it in our template:
<script setup lang="ts">
import {
  IonContent,
  IonCol,
  IonFab,
  IonFabButton,
  IonGrid,
  IonPage,
  IonHeader,
  IonIcon,
  IonImg,
  IonRow,
  IonTitle,
  IonToolbar,
} from '@ionic/vue';
import { camera, trash, close } from 'ionicons/icons';
import { usePhotoGallery } from '@/composables/usePhotoGallery';

const { takePhoto } = usePhotoGallery();
</script>
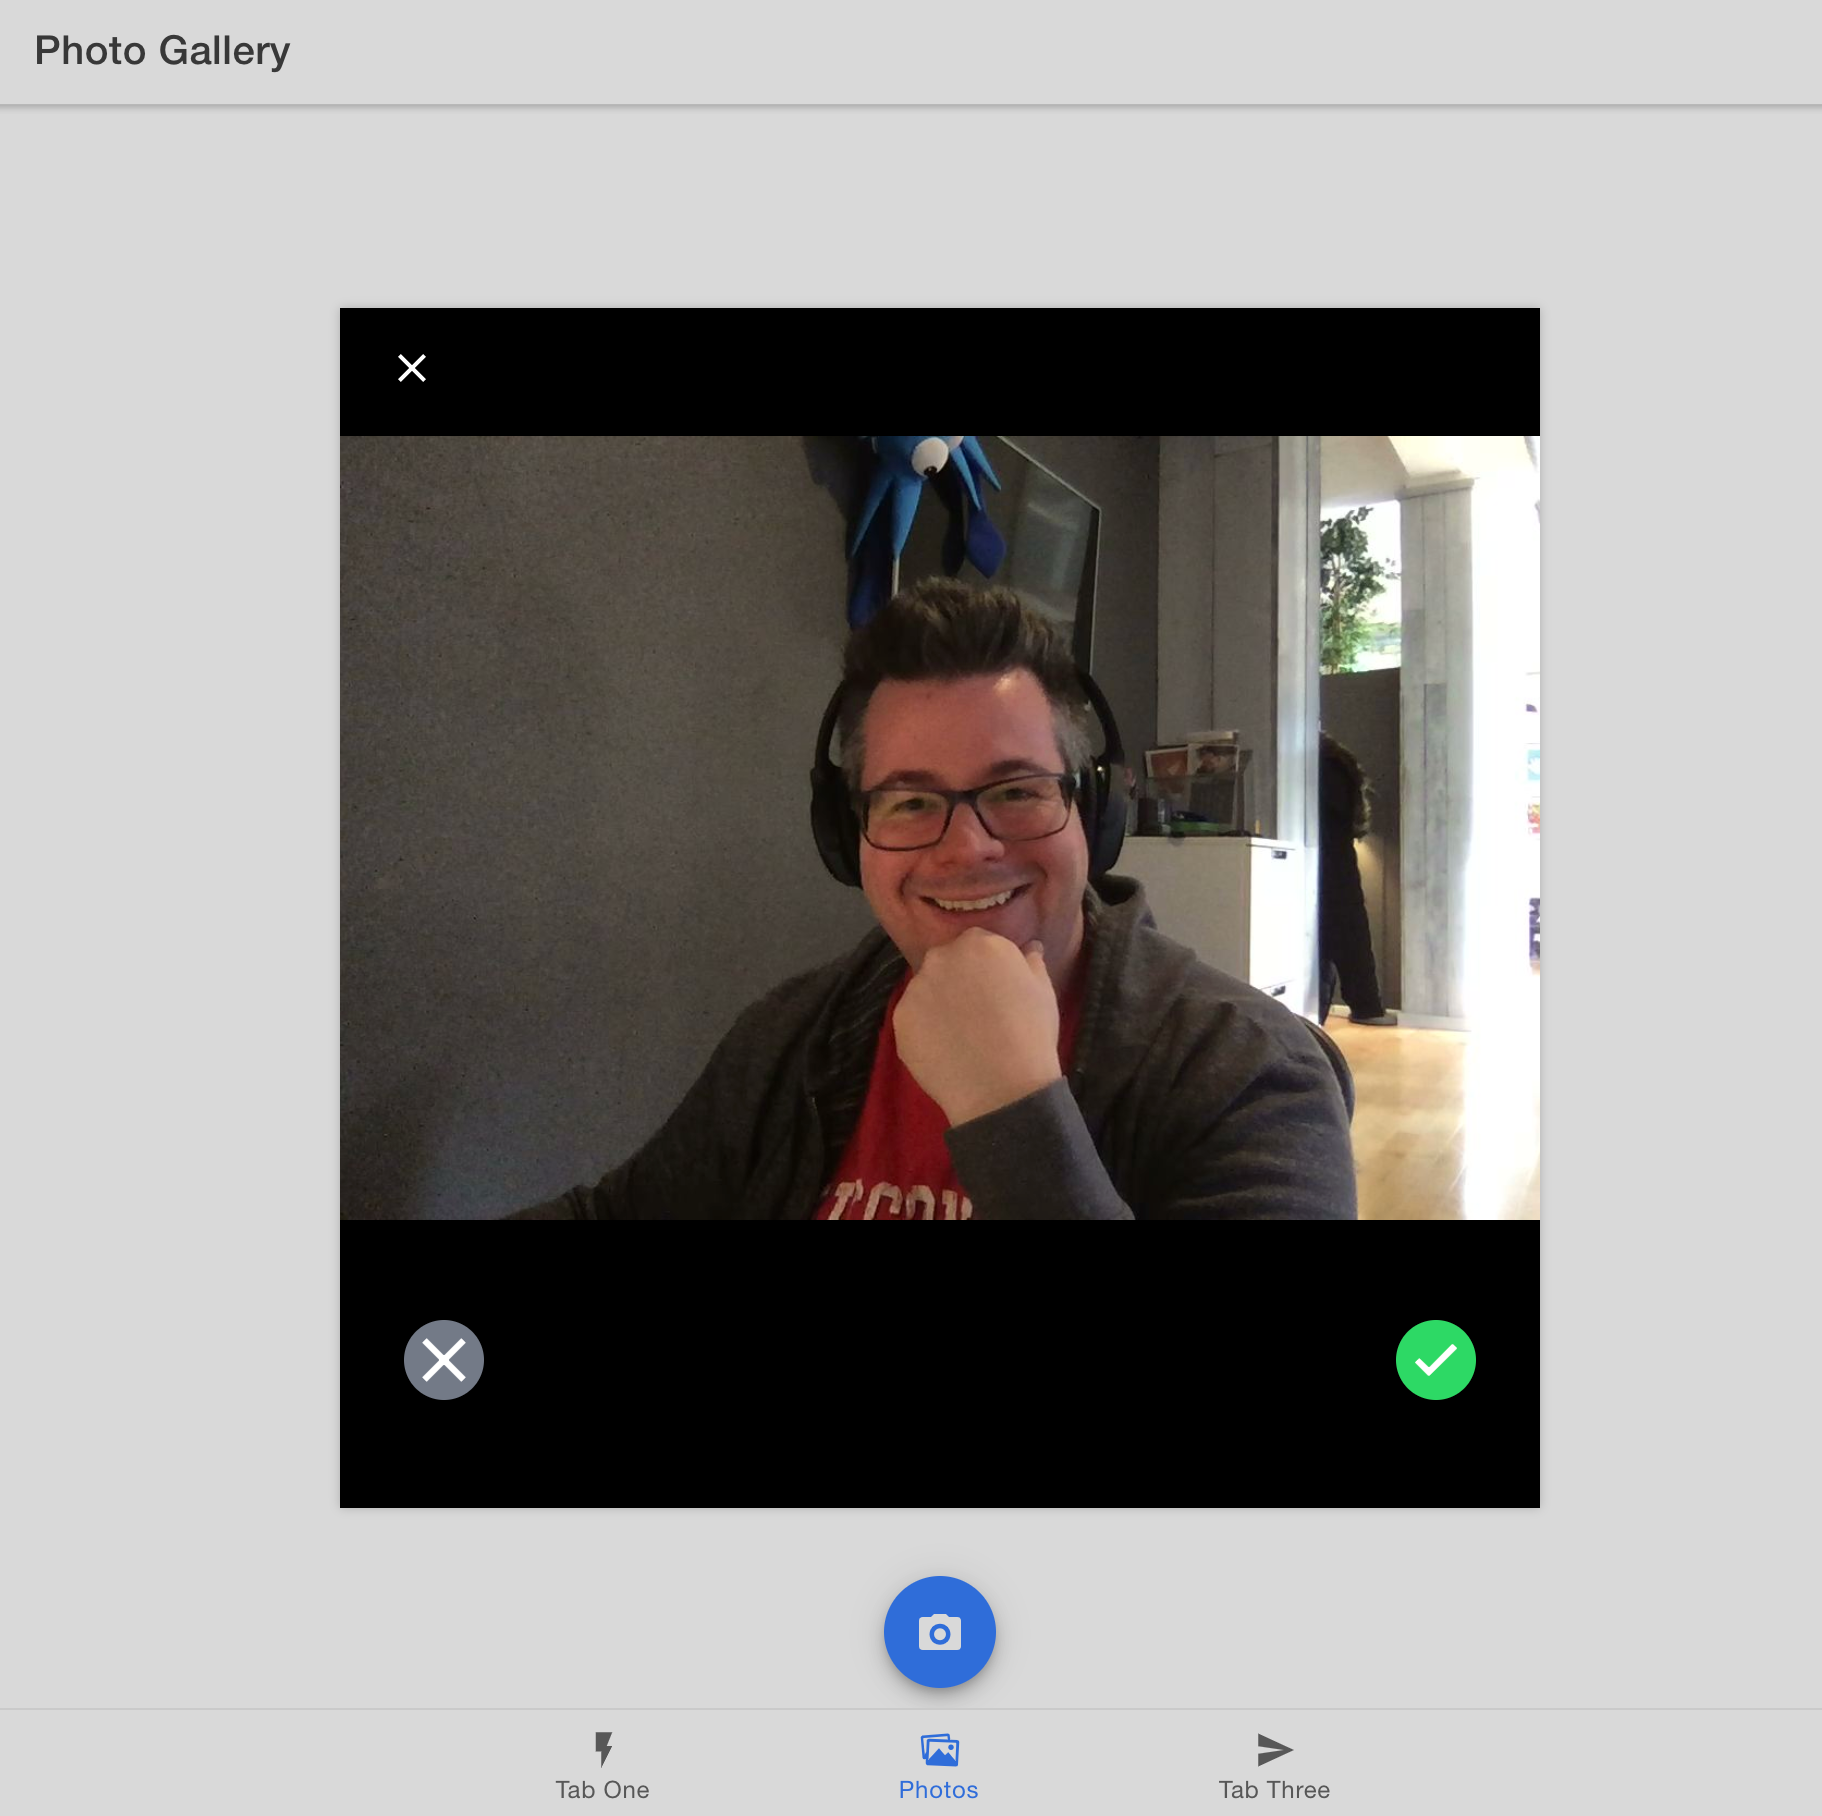
Save the file. Start the development server via ionic serve if it is not already running. In your browser, on the Photo Gallery tab, click the Camera button. If your computer has a webcam of any sort, a modal window appears. Take a selfie!

(Your selfie is probably much better than mine)
After taking a photo, it disappears right away. We still need to display it within our app and save it for future access.
Displaying Photos
First we will create a new type to define our Photo, which will hold specific metadata. Add the following UserPhoto interface to the usePhotoGallery.ts file, somewhere outside of the main function:
export interface UserPhoto {
  filepath: string;
  webviewPath?: string;
}
At the top of the usePhotoGallery function, define an array so we can store each photo captured with the Camera. Make it a reactive variable using Vue's ref function.
const photos = ref<UserPhoto[]>([]);
When the camera is done taking a picture, the resulting Photo returned from Capacitor will be added to the photos array. Update the takePhoto function, adding this code after the Camera.getPhoto line:
const fileName = Date.now() + '.jpeg';
const savedFileImage = {
  filepath: fileName,
  webviewPath: photo.webPath,
};

photos.value = [savedFileImage, ...photos.value];
Next, update the return statement to include the photos array:
return {
  photos,
  takePhoto,
};
Back in the Tab2 component, update the import statement to include the UserPhoto interface:
import { usePhotoGallery, UserPhoto } from '@/composables/usePhotoGallery';
Then, get access to the photos array:
const { photos, takePhoto } = usePhotoGallery();
With the photo(s) stored into the main array we can now display the images on the screen. Add a Grid component so that each photo will display nicely as they are added to the gallery, and loop through each photo in the Photos array, adding an Image component (<ion-img>) for each. Point the src (source) to the photo's path:
<ion-content>
  <ion-grid>
    <ion-row>
      <ion-col size="6" :key="photo.filepath" v-for="photo in photos">
        <ion-img :src="photo.webviewPath"></ion-img>
      </ion-col>
    </ion-row>
  </ion-grid>

  <!-- <ion-fab> markup  -->
</ion-content>
Save all files. Within the web browser, click the Camera button and take another photo. This time, the photo is displayed in the Photo Gallery!
Up next, we’ll add support for saving the photos to the filesystem, so they can be retrieved and displayed in our app at a later time.